
How to Scrape Data from VRBO Into a Google Sheet with PixieBrix
With PixieBrix you can pull VRBO listing data you need into a digestible Google Sheet, making it simple to find the right rental for you.

If you're like me, you're used to spending hours looking for the perfect rental for your next vacation. Analyzing every rental in detail can be quite time-consuming.
I use VRBO to find the perfect rental, but searching can be a little hard when you have to coordinate with family members – links flying in group chat isn't the way to do it.:
There are hundreds of thousands of listings on VRBO so it can get overwhelming to find the perfect fit.
Luckily for us, there's a better way – and we're gonna build it!
Scrape listings data from VRBO and organize results in a spreadsheet
Since it's hard to compare results and I am a huge spreadsheet nerd, I built a Google Chrome mod with PixieBrix that extracts data from the place and organizes it neatly in a Spreadsheet.
I can then share this spreadsheet with family & friends and everyone leaves their notes in a comment
In the following paragraphs, I will show you how you can too scrape VRBO listings data, with ease without any technical knowledge!
Step 1. Set up your Google Sheet
You’re going to create a Google Sheet which will be storing all the data scraped from VRBO.
Head over to Google Spreadsheets (or click here spreadsheet.new). This will open a fresh Google Spreadsheet with no data.
Click the name of the spreadsheet in the top left corner and let's name it something unique, I will call mine VRBO data
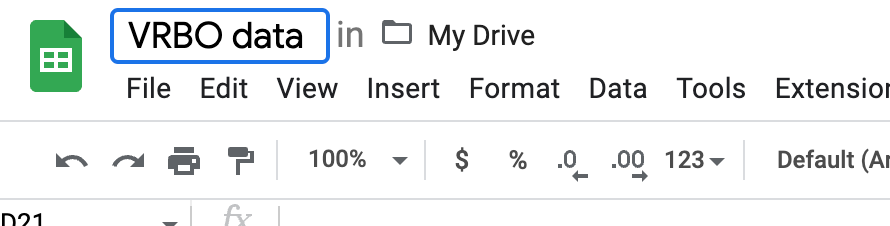
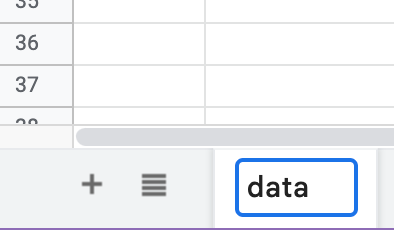
You can also give the sheet itself a name, to help you identify it. I called mine simply data
On the first row of the sheet I have entered the following values, one per column:
- Host
- Price
- Title
- VRBO link
- Description
- Number of bedrooms
- Number of bathrooms

You might be wondering, why am I setting this up? The reason you need to create these headers is for PixieBrix to understand where to put each data value extracted from VRBO.
In my case, I was booking a place on the beach to celebrate my birthday. To compare places, I wanted to scrape:
Step 2. Setup PixieBrix to start scraping
Now that you have finished setting up the spreadsheet, we're going to use PixieBrix intuitive Page Editor to create a mod to do that.
PixieBrix is a low-code browser automation platform that allows you to customize webpages, automate scraping, and create workflows.
Once you sign-up, follow the onboarding steps to download the PixieBrix Chrome extension.
Once you're done head over to VRBO, specifically we'll be using this URL here for our example, so open it up.
Next Right click on the page and select “Inspect.”
A new section of the browser opens. At the top of the inspection screen, there will be a series of options like “Elements” (by default) and “Console.”
Look through these options until you see the one called PixieBrix and click it. Usually, it's the last option on the right.

🎉 Congrats, you've opened the Page Editor for the first time!
Let's get building our first mod
Step 3. Create a mod to scrape VRBO
PixieBrix lets you create mods that can do amazing things. One of the amazing things we can do is add a button to any webpage, for as long as we have PixieBrix's mod running.
From the PixieBrix Page Editor click the turquoise "Add" button and let's add a Button.

Once you've clicked, through the Page Editor you need to find a place where to place this button on the page.
You can do this by finding a location on the page and clicking it or by specifying a CSS selector by hand.
div:has(> a:contains('Get the app'))
If you go the visual way, let's highlight the Get the app button and click it.
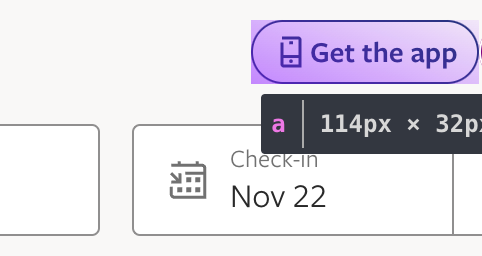
This will tell the Page Editor to add a button next to it.
Let's now configure this brick through the Page Editor
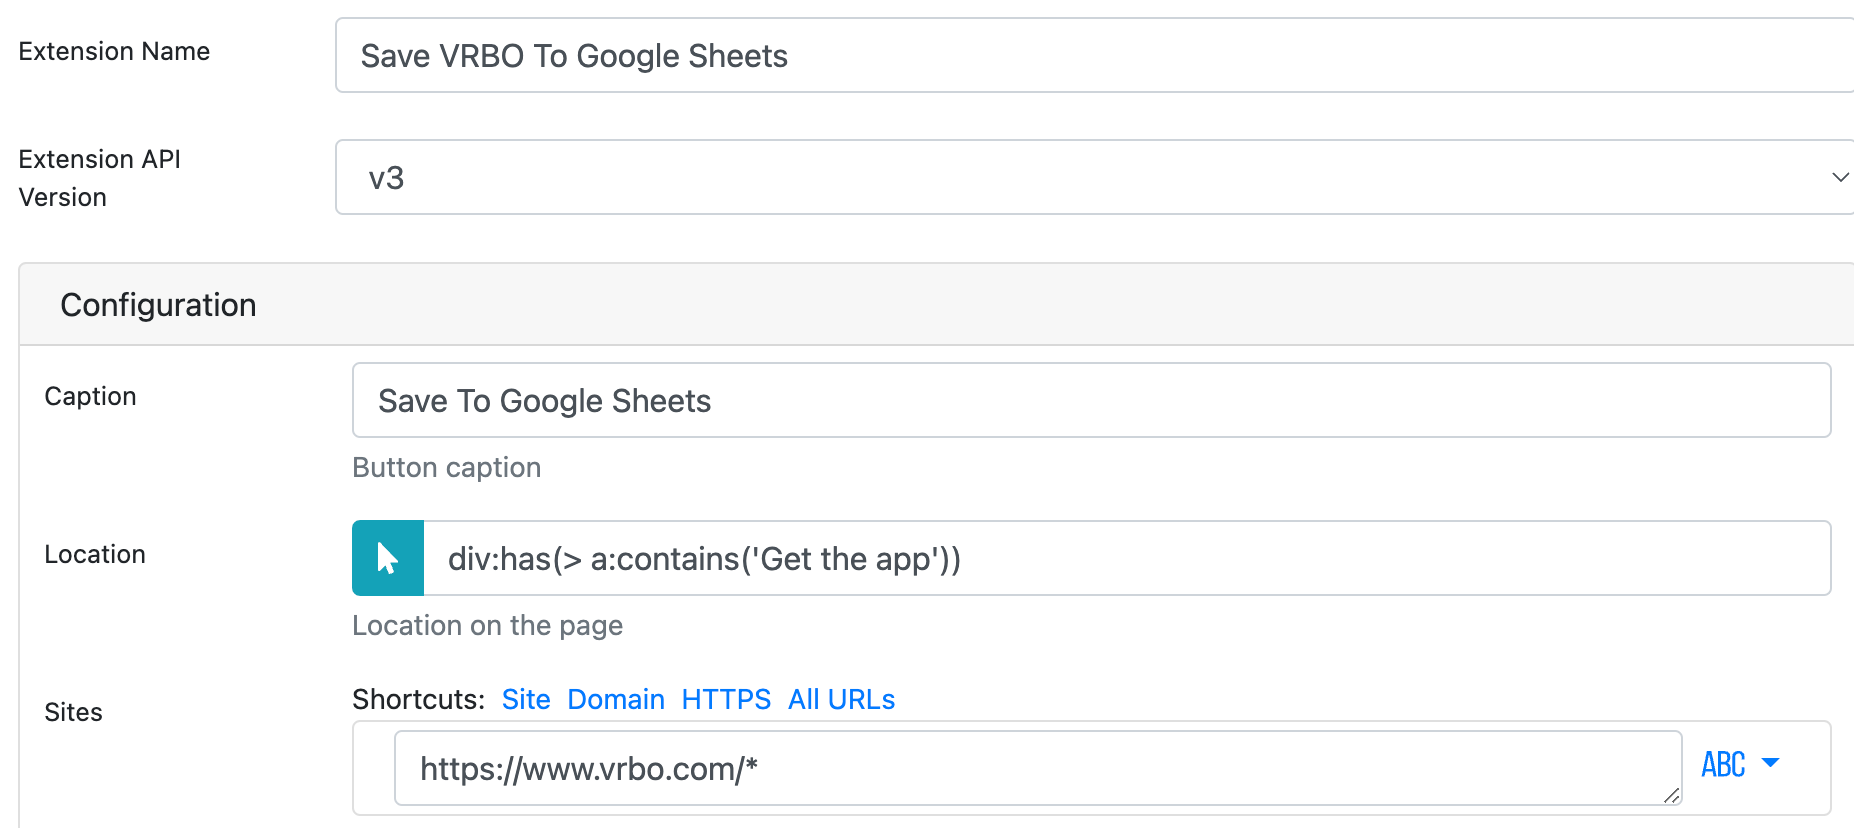
Name your mod something like Save VRBO To Google Sheets
Then set a Caption - something like Save to Google Sheets
The location field should be automatically filled for you but in case it isn't ensure it says: div:has(> a:contains('Get the app'))
Finally - the Sites should say https://www.vrbo.com/*
If you scroll down there are a couple more options to set.
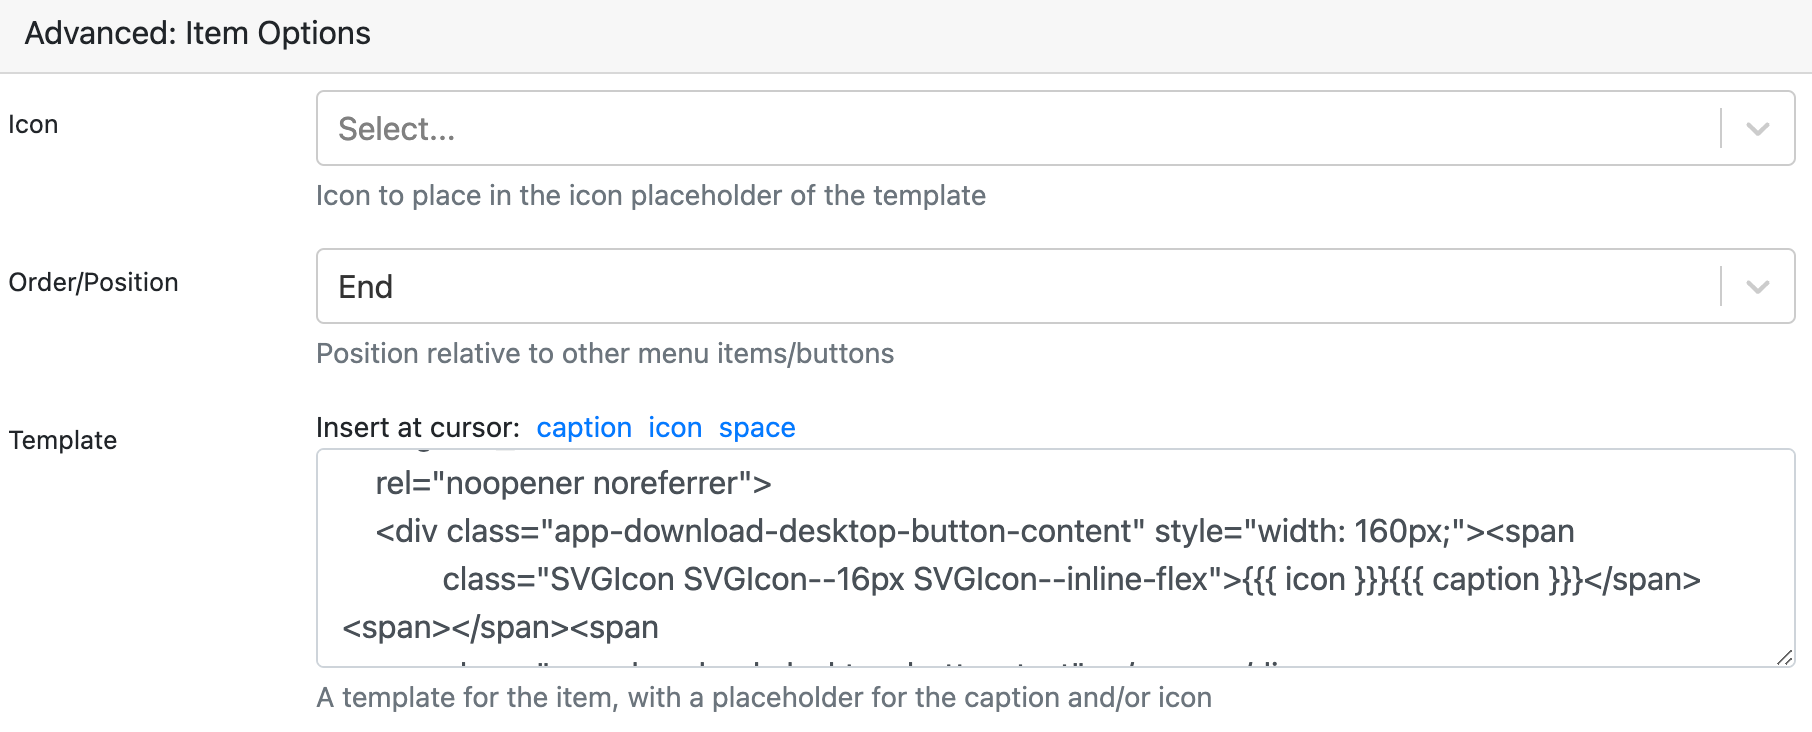
The big snippet of code under the "Template" field is the following:
<a style="background-color: purple; color: white;" class="btn btn-default app-download-desktop-button"
href="#"
target="_blank"
rel="noopener noreferrer">
<div class="app-download-desktop-button-content" style="width: 160px;"><span
class="SVGIcon SVGIcon--16px SVGIcon--inline-flex">{{{ icon }}}{{{ caption }}}</span><span></span><span
class="app-download-desktop-button-text"></span></div>
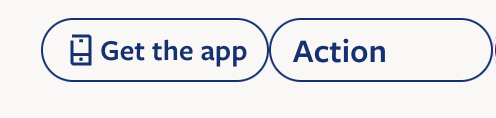
</a>This code adds a little color and style to the button - it is quite optional but definitely recommended.
By doing this, the "Save To Google Sheets" button now looks like this:

Step 3. Adding the jQuery Selector Reader brick
In this section, you are going to add a brick to scrape various parts of the page.
Hit the plus sign on the Page Editor and look for the jQuery Selector Reader brick - then add it!
The way the jQuery Selector Reader brick works is pretty neat: it allows you to select one or more CSS selectors to identify an HTML element. For every selector, the brick will read its value and assign it to a variable of your choice.
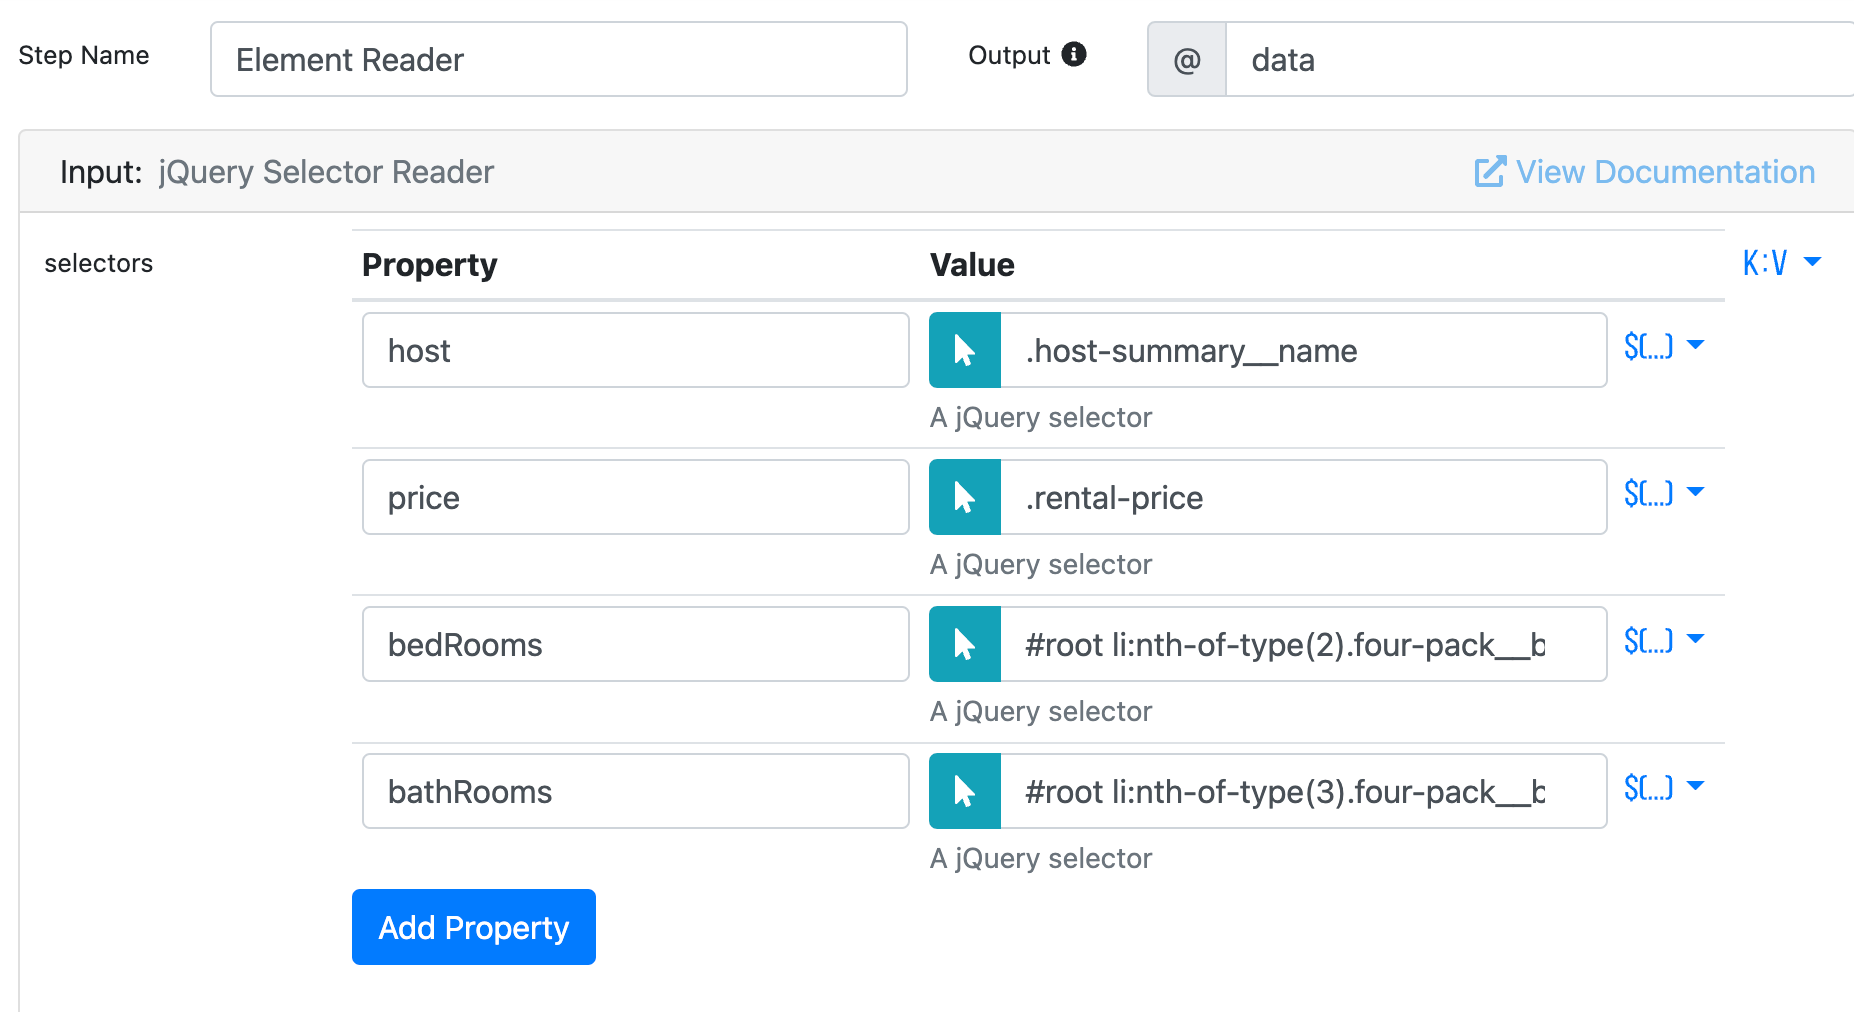
Note that we've called the output variable for this brick @data - if you look at the top right corner of the below screenshot
Go ahead and add 4 selectors fields, we will configure them by clicking the blue arrow icon and then selecting on the VRBO listing page the data values we're after.
In our example, we want to scrape the hostname, the price of the listing, the number of bedrooms and the number of bathrooms. (Here we are only scraping 4 elements but in reality, you can add as many elements to be scraped as you want!)
I have added 4 data values and I have highlighted them on the page (using the pointer icon), that has let the Page Editor suggest me a unique selector for each data point automatically.
host: and its selector.host-summary__nameprice: and its selector.rental-pricebedRooms: and its selector#root li:nth-of-type(3).four-pack__block divbathRooms: and its selectorroot li:nth-of-type(2).four-pack__block div
With that done, you just need one more brick to map that to a row in Google Sheets.
Step 4. Send the data to Google Sheet
Hit the “plus” symbol again to add one final brick. Choose the “Add Google Sheets row” brick, connect your spreadsheet of choice, and then tell PixieBrix what data to map to which columns.
The following screenshot shows you how I set it up:

The values come from the Page Editor.
The @data variable was specified in the previous step 3) which is how I referenced it in the above screenshot.
Another cool thing to notice is that to get the values for URL and Description, you can reference the page context. The page context becomes available when you click the button to run the mod. These two special variables provided by the Page Editor are @input.url and @input.description respectively.
And now watch it work!
When you click the button we just added to a listing on VRBO, the mod will scrape the text from the page, allowing you to save the description, price, and other rental details, as well as the URL of the listing, and send that to your Google Sheet.
Whether it’s Vrbo, Airbnb, or any other website, PixieBrix can help save you time and effort scraping data. Not looking for help scraping data? Check out the Best YouTube Chrome Extensions for Content Creators.


