How to Build a Chrome Extension (The Easy Way and the Hard Way)
Google Chrome is a powerful platform with massive potential. There’s a reason it dominates the web browser market (with a market share of over 60%). That potential is what has made the Chrome Web Store so popular; an army of developers is out there right now, building Chrome extensions aimed at making your online life just a little bit easier.
But what if you can’t find a Chrome extension that suits your needs? Well, then you’re left with not much choice, except to build a Chrome plugin. Here are two ways you can do that — spoiler alert, one’s a lot easier than the other.
The hard way to build a Chrome extension: Google’s method
Building a Chrome extension is a lot like building any other kind of software; you start with a goal in mind, you write code that’ll make it happen, and you troubleshoot until your software works properly. That said, because Chrome’s infrastructure is its own unique environment, there are some distinct steps you need to follow to make sure you have a working extension after all your hard work.
Don’t worry; you won’t be learning to code here. These are just the broad steps you need to follow to build your Chrome extension.
Create the manifest
Every Chrome extension has a manifest, which lists some of the most important information about that extension. Here’s what you’ll need to include in your extension’s manifest:
- A name for your extension.
- A brief description.
- The version.
- The manifest version.
This is the first file your extension will check once it runs, so it’s crucial to get this out of the way before building the extension itself. It can be a complicated file to build if you don’t know what you’re doing, and your extension’s reliance on this file can make it vulnerable to changes from Google, like the upcoming migration to Manifest V3.
Build functionality
This is where the bulk of the work is happening. Here, you’ll be writing the actual code that goes into building your Chrome extension. Depending on what you’re building, this can be a few lines of code or pages and pages of it. Don’t already know programming languages like HTML, Javascript, or CSS? Then you’ll need to find a crash course so you can build something that’ll work with Google’s platform.
If that sounds too complicated, go here for the easier method.
Add a user interface
It’s not enough to code the actual feature your Google extension will perform; it needs a way for users to actually make it work. Some extensions have very simple context menus, either revealed when you right-click on the appropriate input (say an image on a website) or in a popup, while others have complex, fully-designed interfaces. They look almost like fully-fledged software tools.
Whichever approach you decide to take, it’s important that you don’t forget this step.
Give it logic
Basic functionality aside, you’ll also need a way to give users more options. It’s one thing to build a Chrome extension that performs a very simple action, but most of them need to have a bit more flexibility. Take a translation Chrome extension, for example. It might need the ability to switch between languages or cycle through inputs. All of this logic needs to be hard-coded into your extension, too.
Launch
Did you think you were done yet? Once you’ve finished building your Chrome extension, you have to load it into the Google Chrome platform and check it for errors. You’re bound to find some kind of quirk you’ll need to fix later, from total crashes to errant semicolons. Then, and only then, can you put your Chrome extension idea up on the web store and share it with other users.
Want a method that’s faster, easier, and doesn’t demand deep knowledge of programming languages?
The easiest way to build a Chrome extension (for FREE): using PixieBrix
PixieBrix is a low-code platform anyone can use to build Chrome mods that customize your online experience, automate your work, and make your online life easier. Using PixieBrix, you can create intelligent overlays that make the tools you use every day – from Twitter to Zendesk – more interactive and powerful. PixieBrix mods can also automate boring manual work and streamline processes that go through multiple tools.
And you don’t have to build them from scratch. The PixieBrix marketplace has a ton of pre-made bricks that make it much easier to get started quickly. Some of the most popular bricks include sending Slack messages, pushing data to Zapier, automatically adding rows to a Google Sheet, and more.
Now let’s see how easy it is to build your first Chrome mod with PixieBrix.
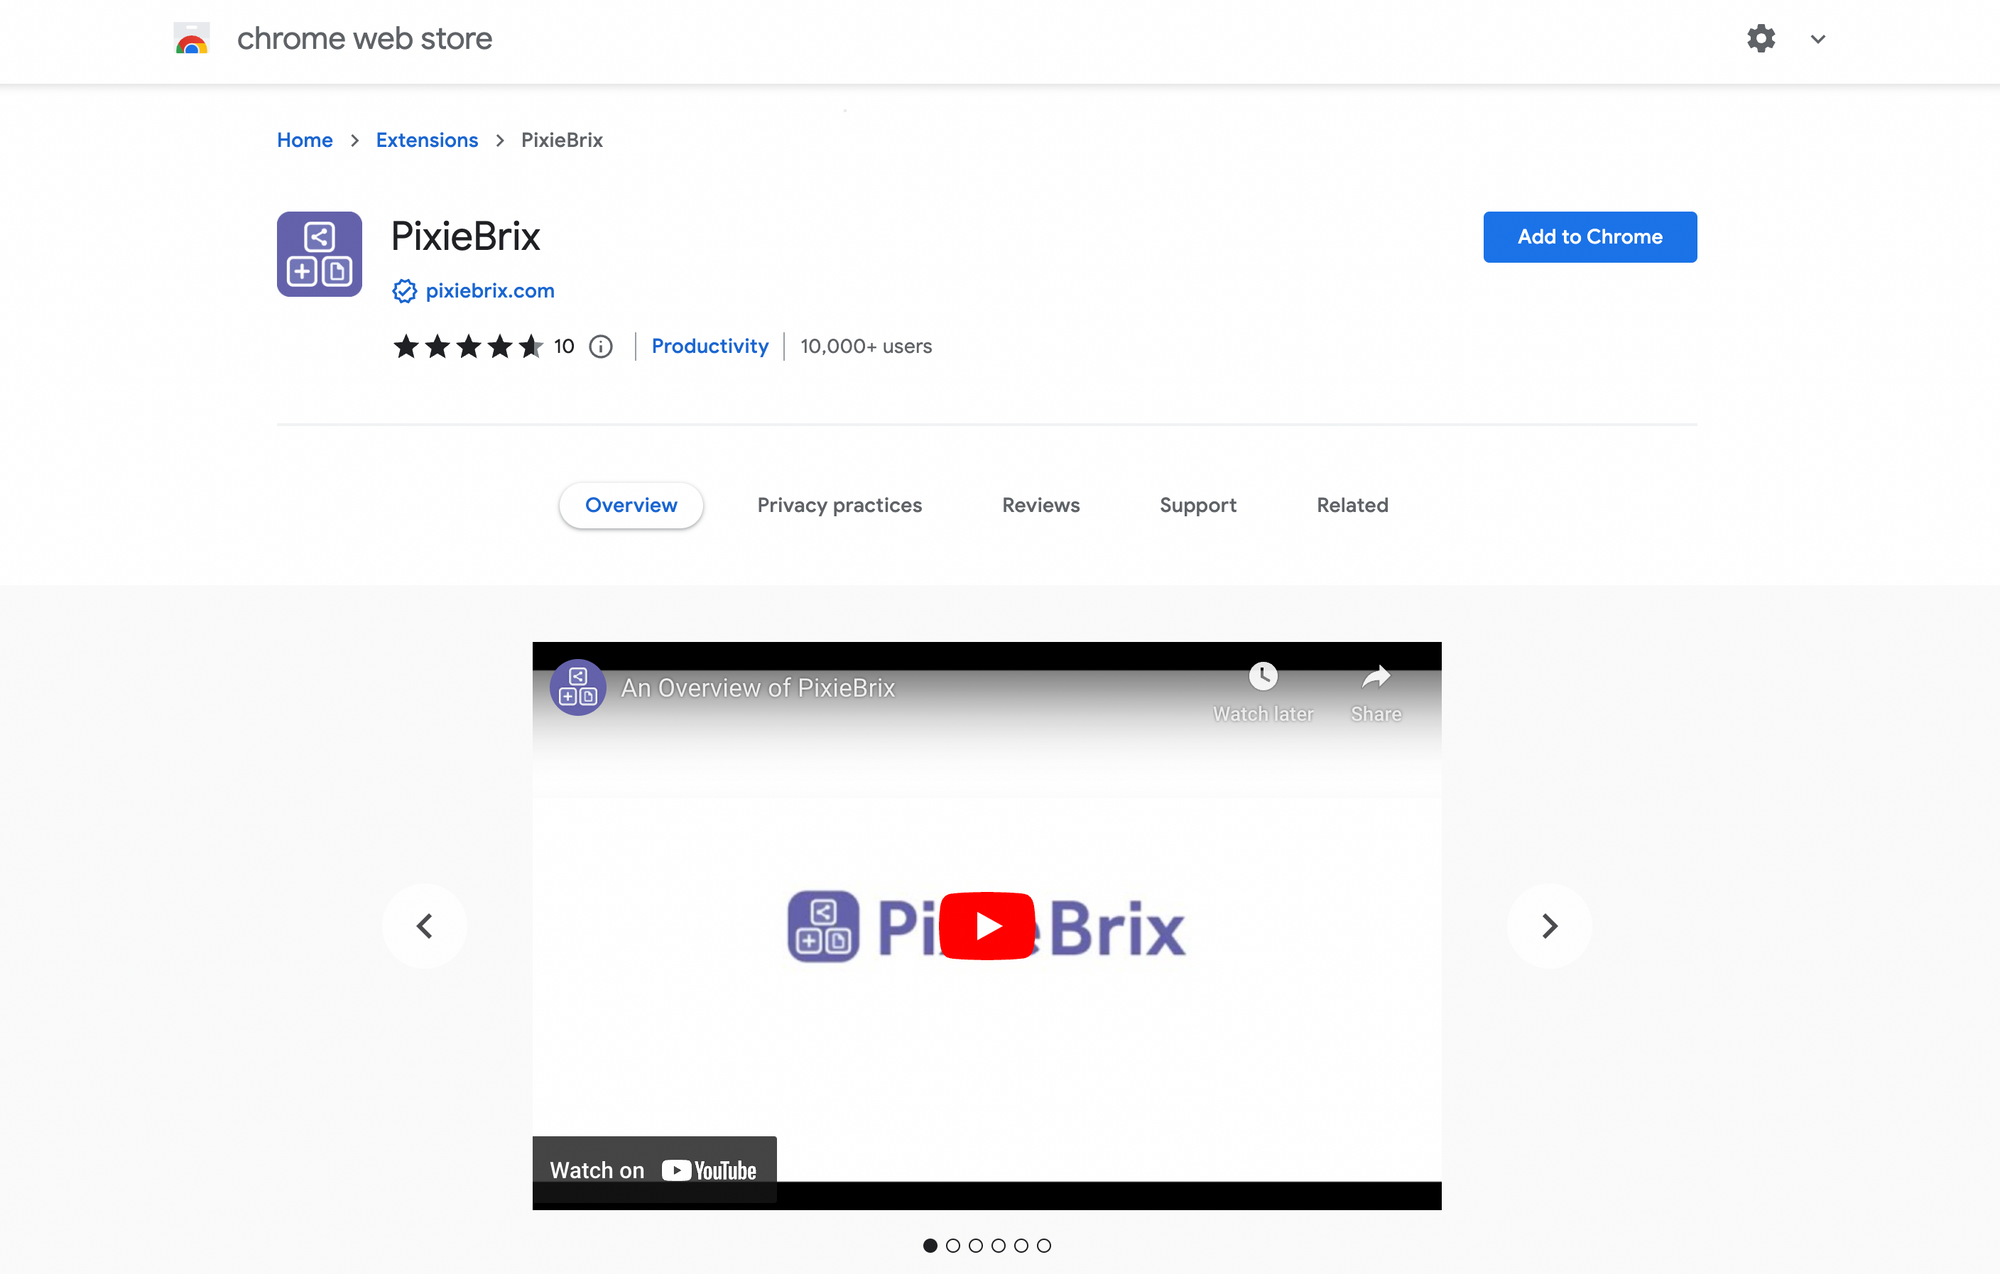
Step 1: Install the PixieBrix extension
Before you can build your own mod, you have to get the PixieBrix extension. Create your free PixieBrix account, then install the extension on Chrome’s Web Store.
After a quick onboarding that’ll introduce you to PixieBrix, you’ll be ready to build.
Step 2: Find the pieces you need on PixieBrix’s marketplace
Just like Chrome’s Web Store, PixieBrix’s marketplace has a host of pre-built mods you can add to Google Chrome, from mods that help you generate Twitter thread ideas to creating trackable UTM links for your content. But you’ll also find the components you need to build your own mod: bricks.
Bricks are the building blocks used to create all kinds of mods, from simple automation to more intricate processes. You’ll find bricks for all sorts of tools, so let’s pick an example. Say you wanted a way to automatically add contact information for a potential customer from any webpage into a tool where you could turn it into a lead. Here are just a few examples of bricks that could help you do this:
Some bricks work directly with the tools in your stack, while others leverage platforms like Zapier to connect with thousands of integrations. Instead of coding their behavior from scratch, you can just find them on the marketplace and adapt them to your needs.
Step 3: Put bricks together to build mods
While bricks are the individual components that make specific actions happen, mods can cover all sorts of functionality. You can find many of them on the PixieBrix marketplace already, and all you need to do is activate them to start using them. But if you can’t find a mod that works the way you need it to out of the box, you can use bricks from the marketplace to build your own.
That means you don’t have to build your Chrome mod from scratch. You don’t need to code every single behavior, and you don’t need to deal with creating manifests or any of that stuff. You grab the bricks you need, you put them together, and you’re done.
Step 4: Do it again!
Because PixieBrix mods can be built in so little time, you can go from idea to execution with a fraction of the effort you would need to build a Chrome mod any other way. Find another need in your team, your personal workflow, or your business, and head to the PixieBrix marketplace to see if there’s a brick that can meet it.
Build easier with PixieBrix
You don’t need technical knowledge to build a Chrome mod with PixieBrix, and that means fewer technical teams can quickly create solutions that make their lives a bit easier. Since there’s no need to rely on a software development team, you can build your own stack of widgets and tools without overloading an innocent developer.
Sign up for a free PixieBrix account and see what you can build!