Customize the Snippet Manager Mod Template
Customize the Snippet Sidebar to quick access templates and snippets from anywhere in your browser.
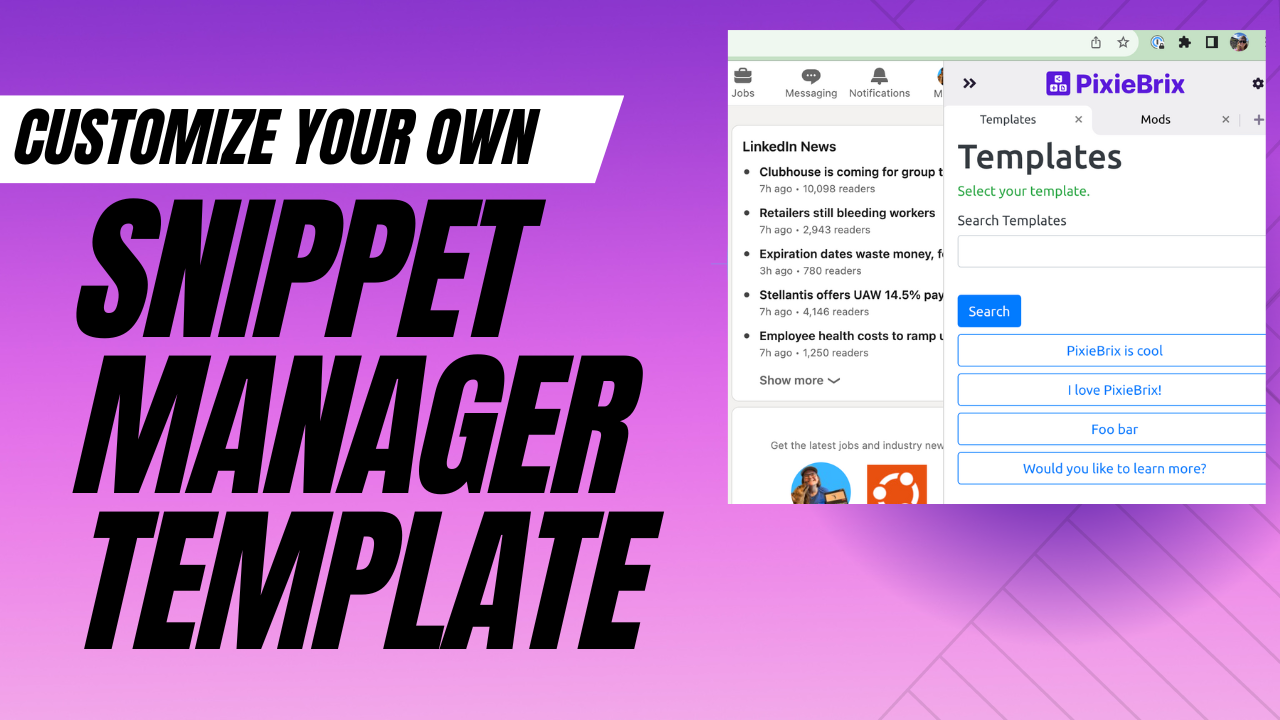
PixieBrix is great for fetching information and making it accessible anywhere you need it. A great example of this is message templates or text snippets. If you find yourself constantly typing similar messages, why not save them in a Google Sheet and fetch them to display on a sidebar on any page?
This tutorial shows you how to customize a Snippet Manager to fit your specific use case and use your own templates and data.
In this post, we'll cover core ways you can change the mod. Click below to scroll to the changes that are most interesting to you.
- Make a Copy of the Snippet Mod Template
- Customize the Data Source
- Customize the Sidebar UI
- Autofill Text On The Page
📋 Make a Copy of the Snippet Mod Template
🏁 Before you can do any customizations, you'll need to get the template in editable format.
💽️ Customize the Data Source
One of the first things you may want to customize is where your templates come from. In the template example, the templates are defined in a Google Sheet, and we use the Lookup Google Sheet row brick (renamed Fetch data from Google Sheet) to query a Google Sheet.
You might need to modify the query if your Google Sheet is set up differently than our template. Click the Fetch data from Google Sheet brick and check out the Brick Configuration Panel in the middle of the Page Editor.
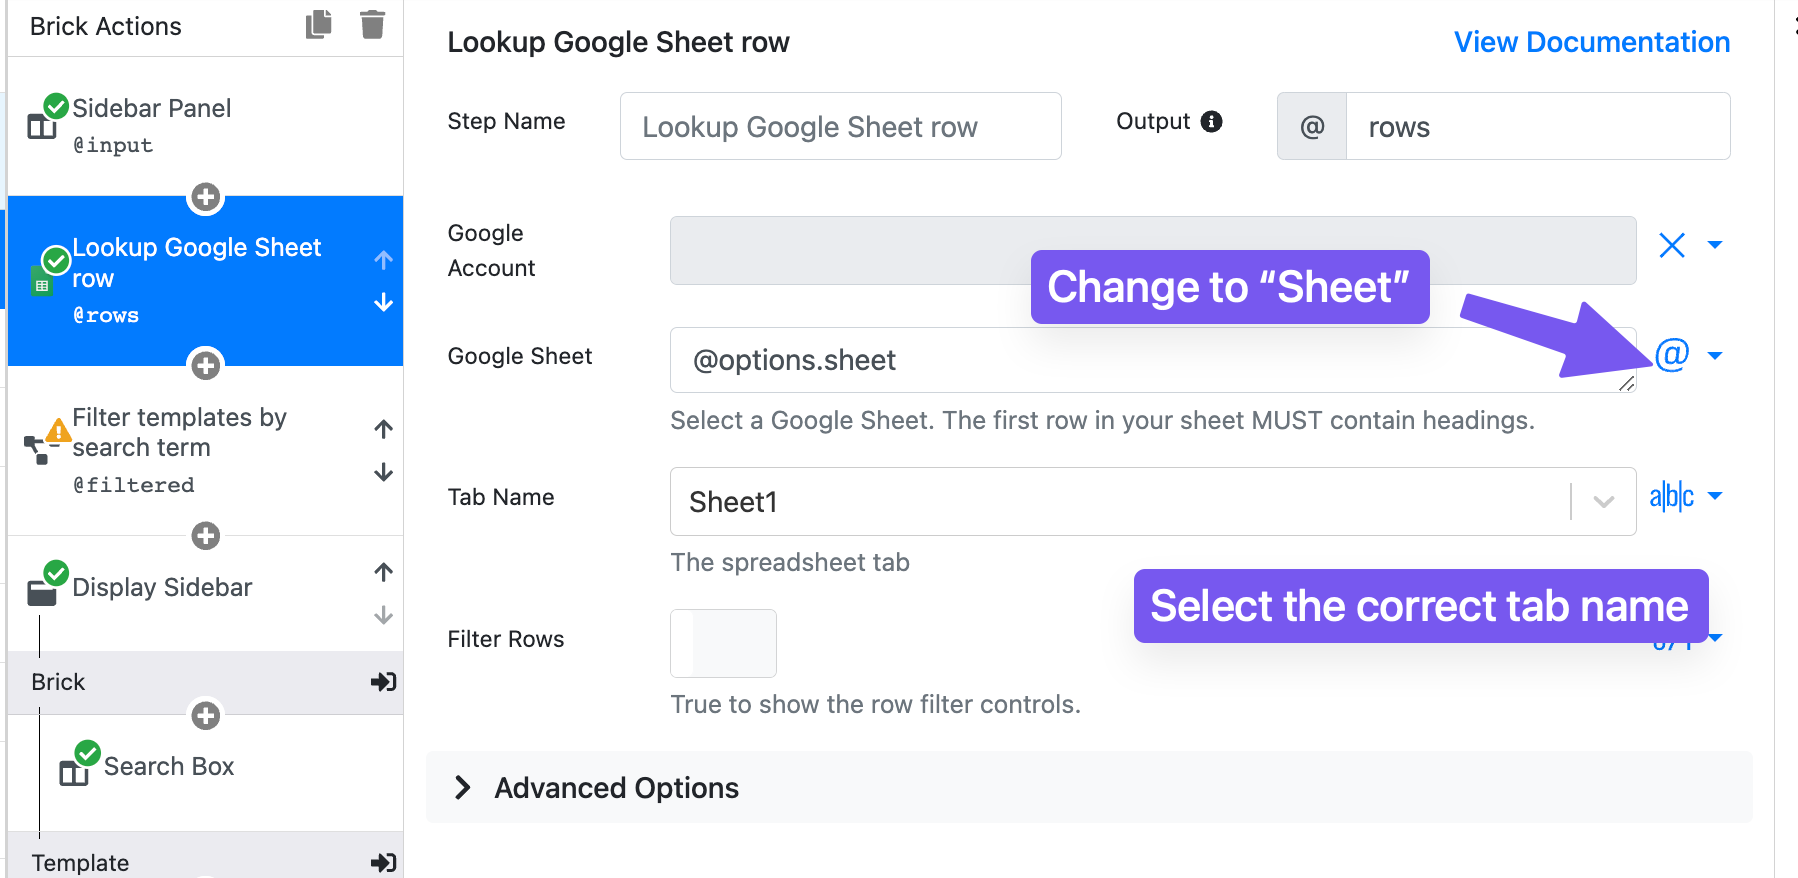
To change the Google Sheet you configured, click the @ at the end of the row and choose Sheet, which will open a file picker to select your Google Sheet. You can then change the Tab Nam and Column Headers from ABC to a|b|c Select..., creating a dropdown of options from the Google Sheet.
If you're using some other column to get every row, you can change the Query text to match. For instance, you might have a * or Include in your row.
You also might want to fetch data from other tools entirely, such as:
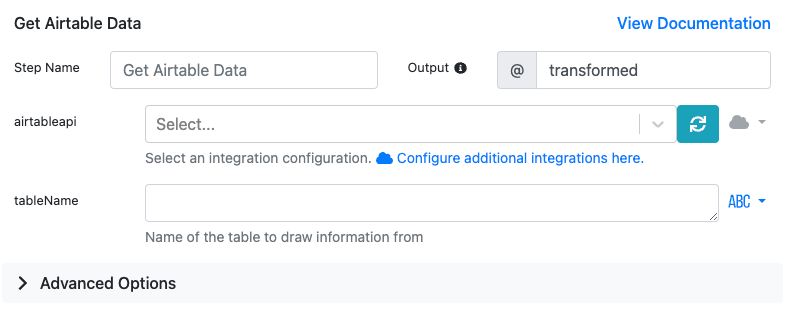
Connect to Airtable
First, add an Airtable integration configuration. Use the Get Airtable Data brick to fetch all data from an Airtable database. If you want to extract only specific data, you'll need to add a jq - JSON processor brick afterward and use JQ to filter the data returned.
Connect a PixieBrix database
You can store your templates in a PixieBrix database and use the List All Records brick to return all records in a specific database or use the Get data from PixieBrix database to return a specific record. PixieBrix databases have access control, allowing you to specify which team members should have access.
Connect to Mixmax (or other email template tools)
If you want to use another tool, you can search for an existing brick by clicking the + button under any brick in the Brick Actions Pipeline.
If the tool you're searching for isn't available as a brick, use the HTTP Request brick to fetch data from any API.
🎨 Customize the Sidebar UI
If you want to make edits to the style of your sidebar, click the Display Sidebar brick to view a preview of your Sidebar in the far right panel of the Page Editor (1). There's a lot you can customize, so let's look at the common actions.
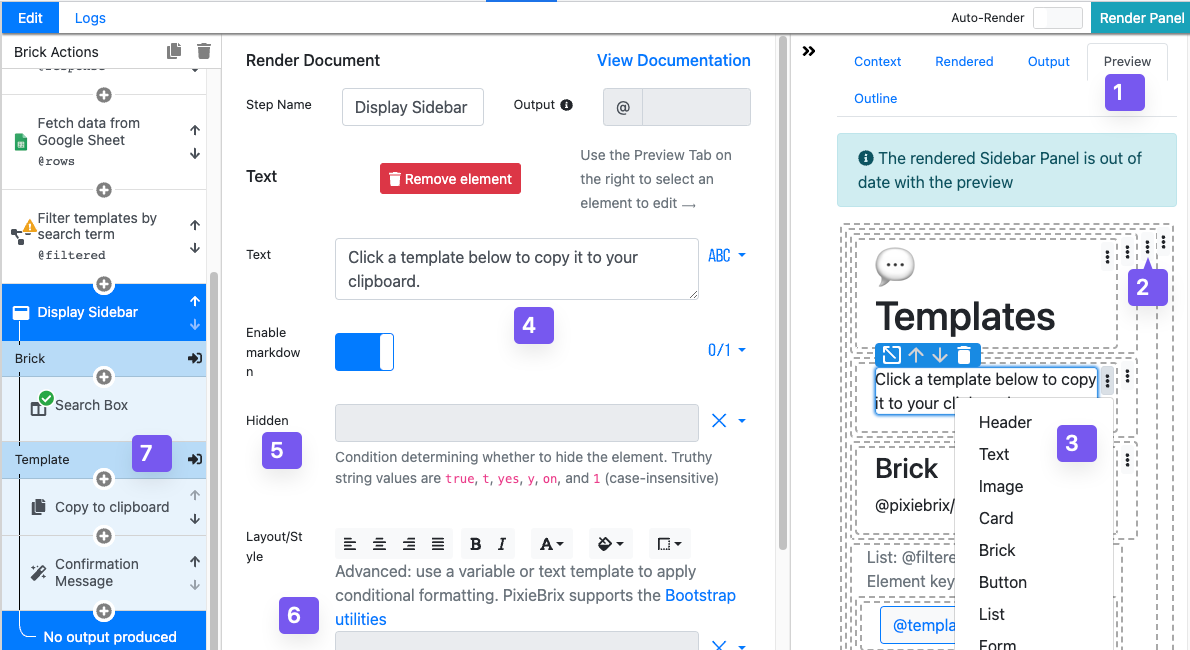
- Adding new elements: To add a new element, click the three-dot menu on the secondmost outer element, which is a Container, and add a row (2), then click the three-dot menu that appears in the new column to select an element (3).
- Edit the content of an existing element: If you want to change the content of an existing element, select it from the Preview Panel and edit the configuration options in the middle of the Page Editor (4). Depending on the element, your configuration options may differ slightly.
- Change the style of an element: Select from standard layout and editing options, like aligning text or changing colors (6).
- Adding actions to elements: Some types of elements, like Forms, Bricks, or Buttons create a section inside the Render Document/Display Sidebar brick in the Brick Pipeline (7). You can tie actions to these elements, such as fetching information, copying items to a clipboard, to filtering data.
Here's an example of changing the content of a text element.
⌨️ Autofill Text On The Page
As configured out of the box, this template copies the text to your clipboard when you click the button in the Sidebar Panel. But perhaps you find yourself always using these templates on a specific site, and you'd like to set the input value of a field on the page with your selected template.
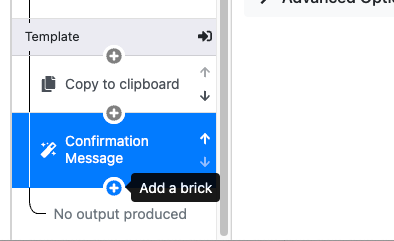
To do this, click the + below the Confirmation Message brick in the Brick Actions Panel, and search for the Set Input Value brick and click Add to add it as an action to your button.
This brick allows you to find an input selector and set the text to any value you'd like, in this case, your template message.

Here are a few examples of selectors you could use to set the text on common websites.
- Gmail Reply/Compose Email :
[aria-label="Message Body"] - LinkedIn New Post, Comment, and Messages :
[role='textbox'] - Slack:
[role="textbox"]
🎉 Congrats! You've successfully modified a message template sidebar. But this is just the start. You can build anything else on top of this, like additional actions such as setting input value on the current page or asking AI to rewrite the template. You can also fetch template messages from another tool (like Airtable, your own API, or something else).
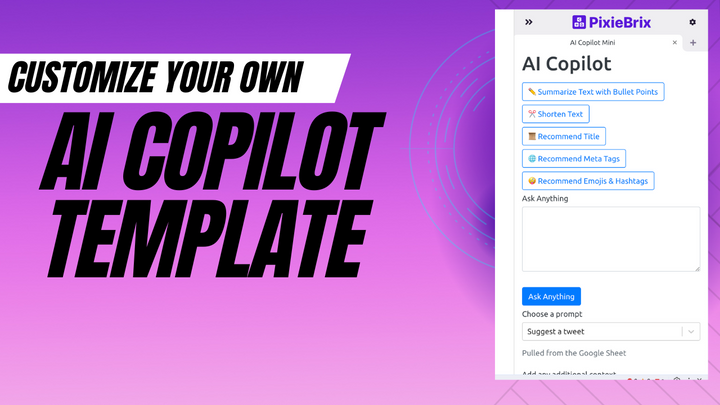
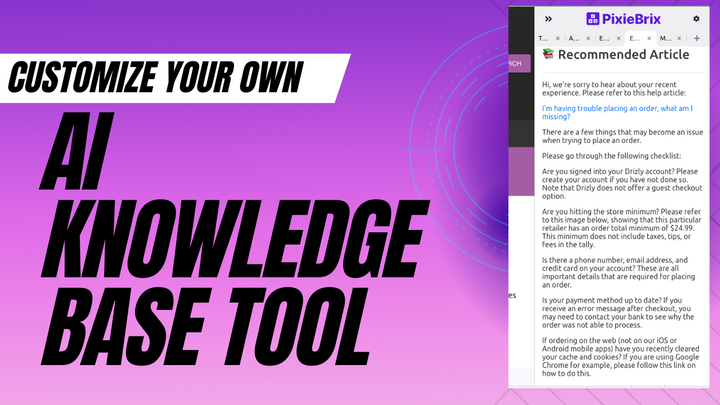
Learn more about our Knowledge Base Recommender template HERE.